|
 |
 |
 |
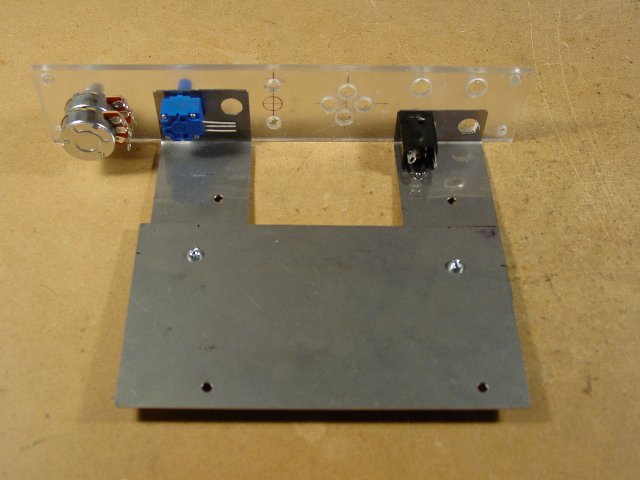
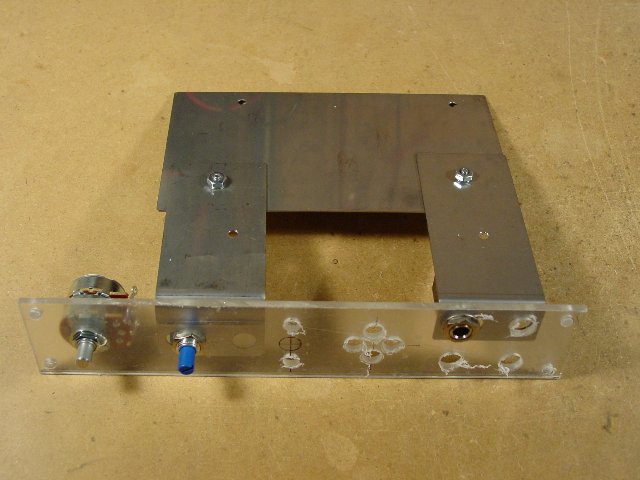
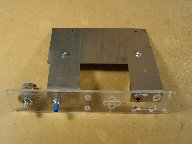
| Stooge Bracket Prep |
Stooge Bracket Prep |
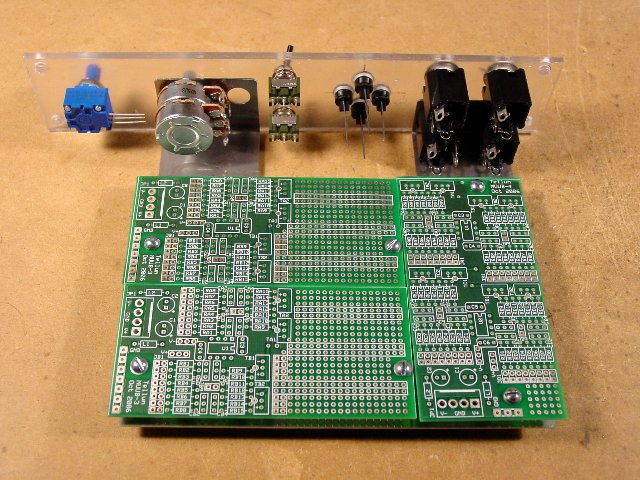
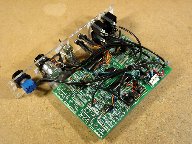
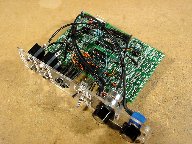
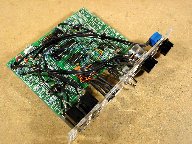
Test Fit PCBs |
Back Edge View |
 |
 |
 |
 |
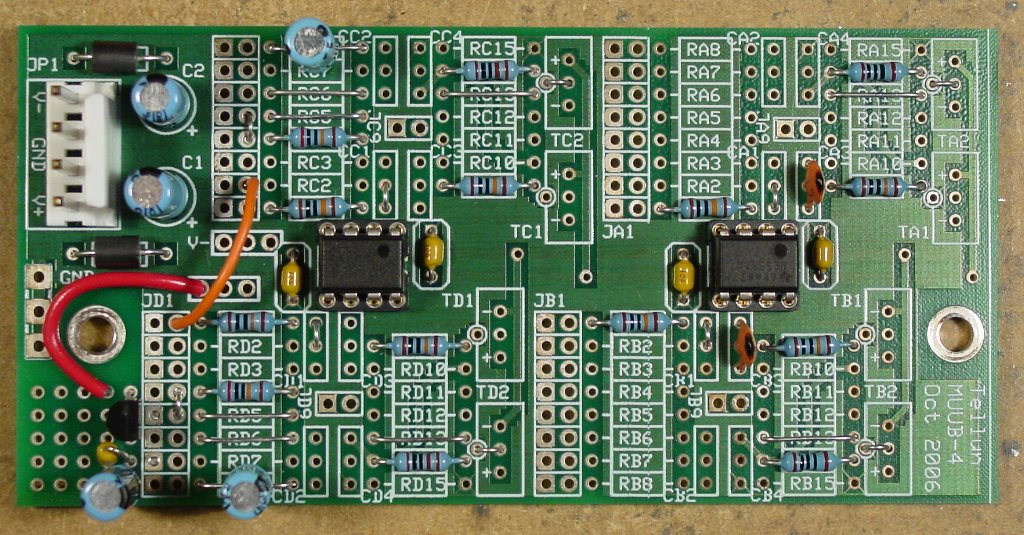
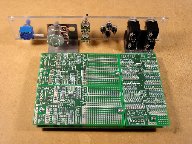
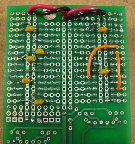
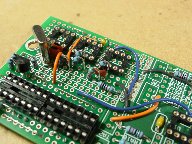
| Board #1 Complete |
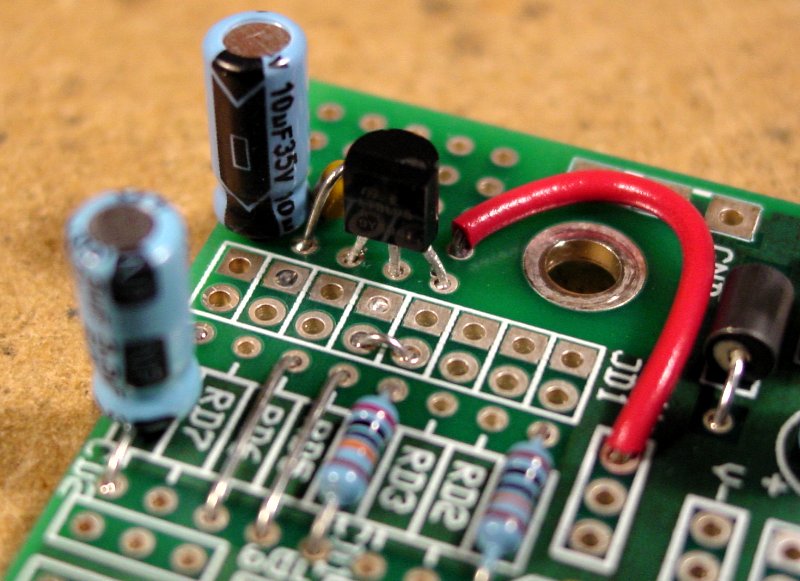
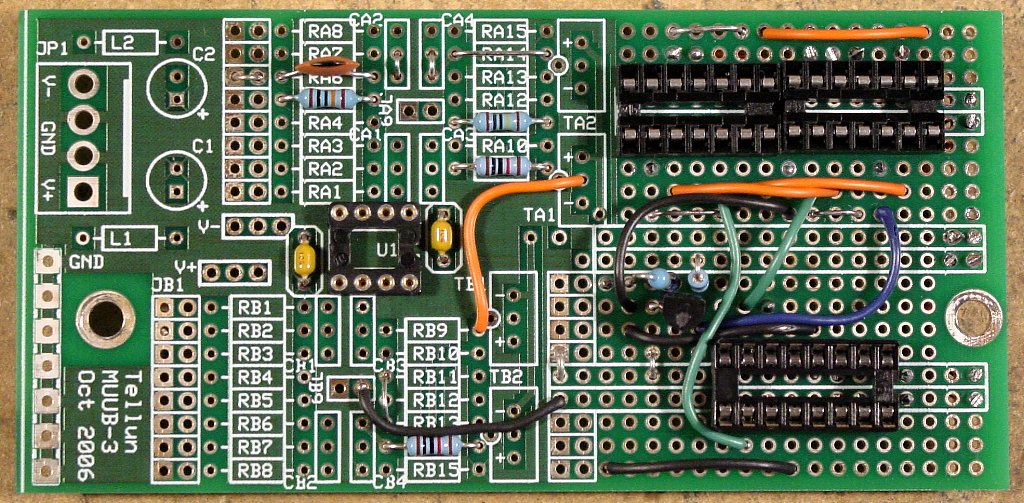
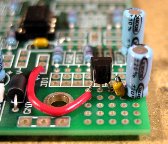
U6 Regulator (topside) |
U6 Regulator (topside) |
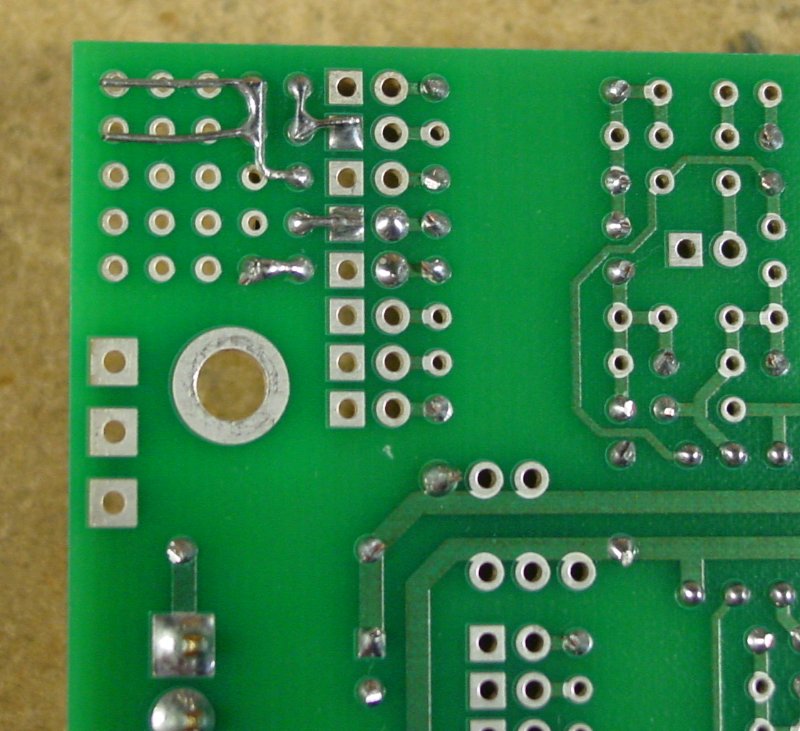
U6 Regulator (underside) |
 |
 |
 |
 |
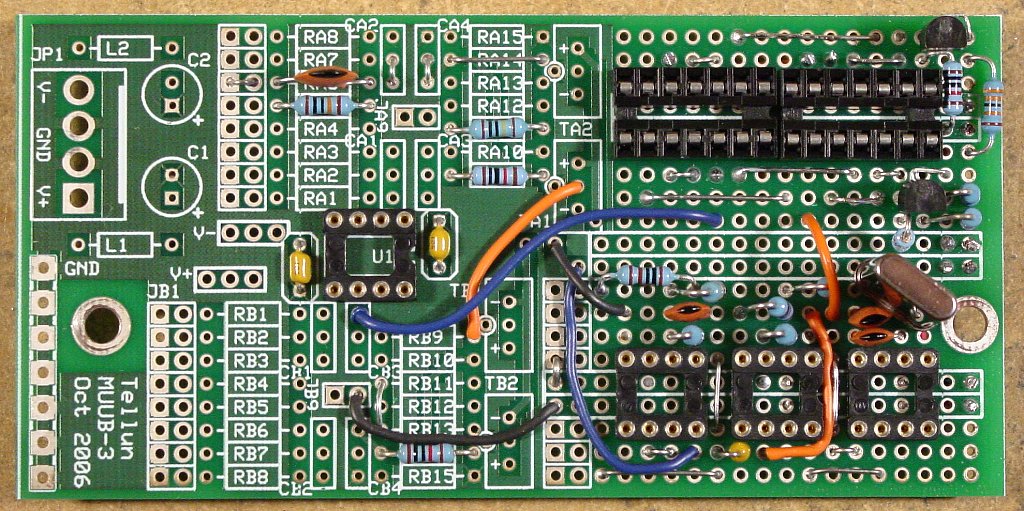
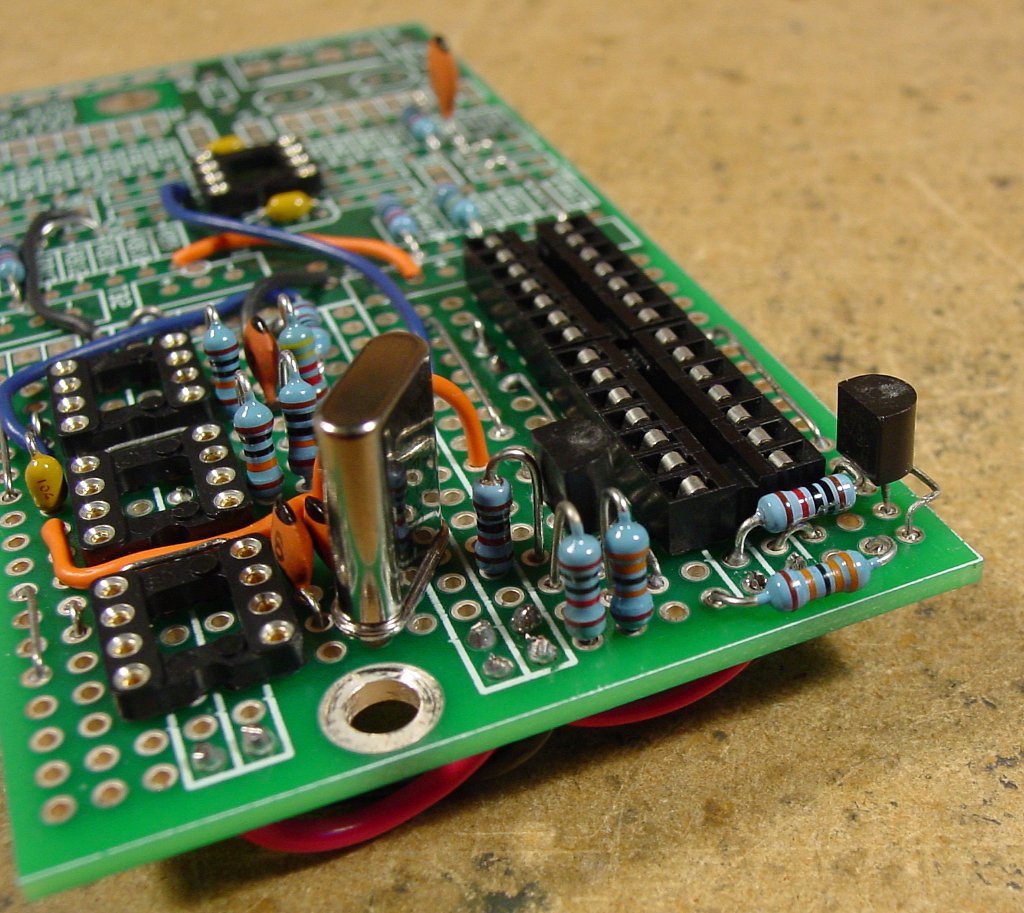
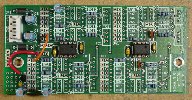
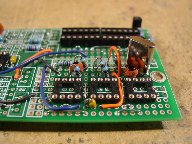
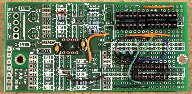
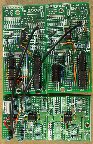
| Board #2 Complete (topside) |
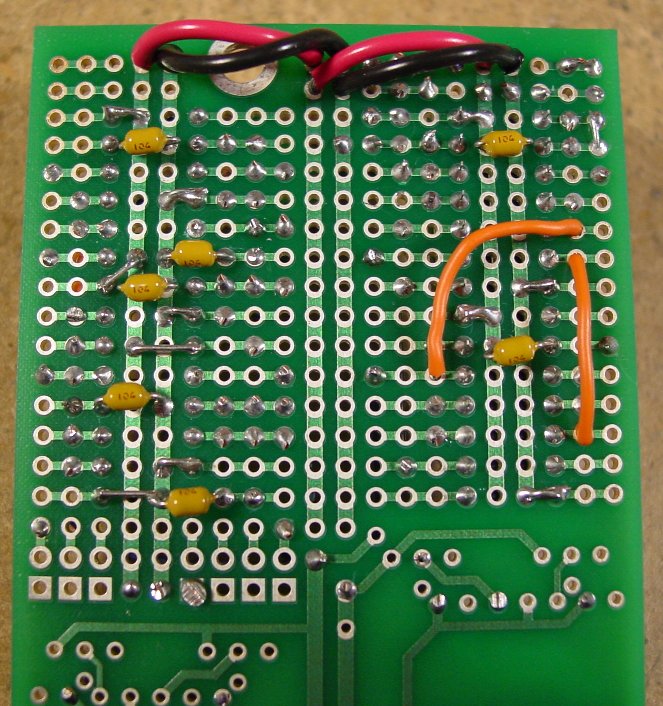
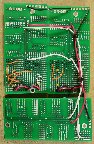
Board #2 Complete (underside). C33 is not shown. |
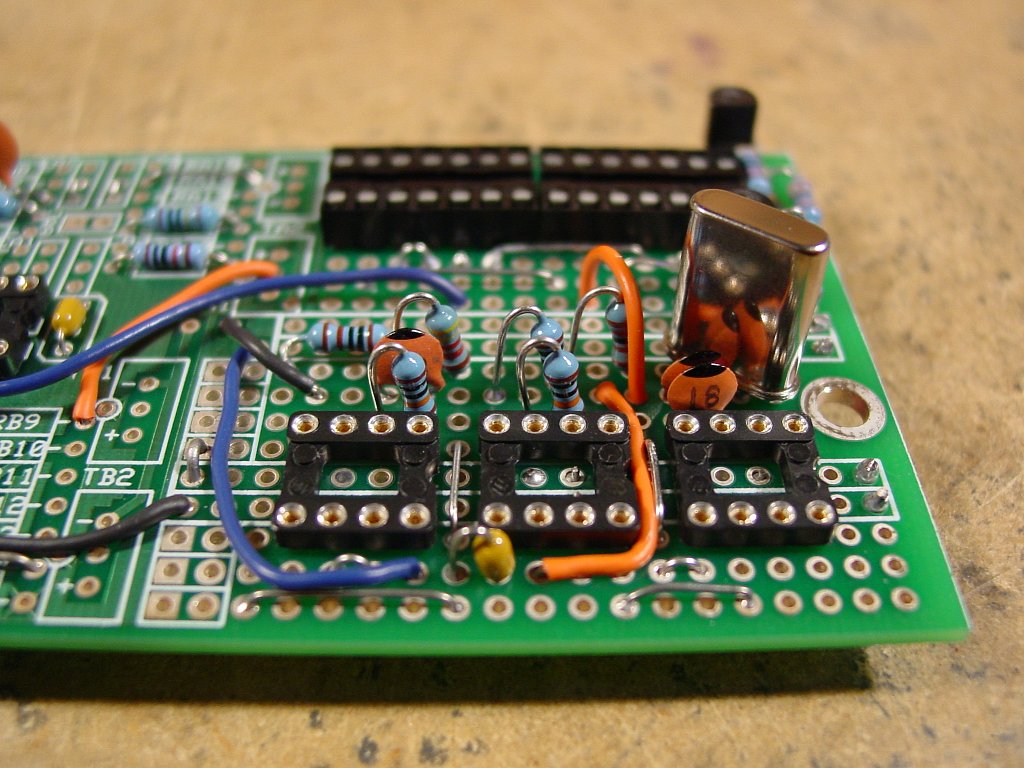
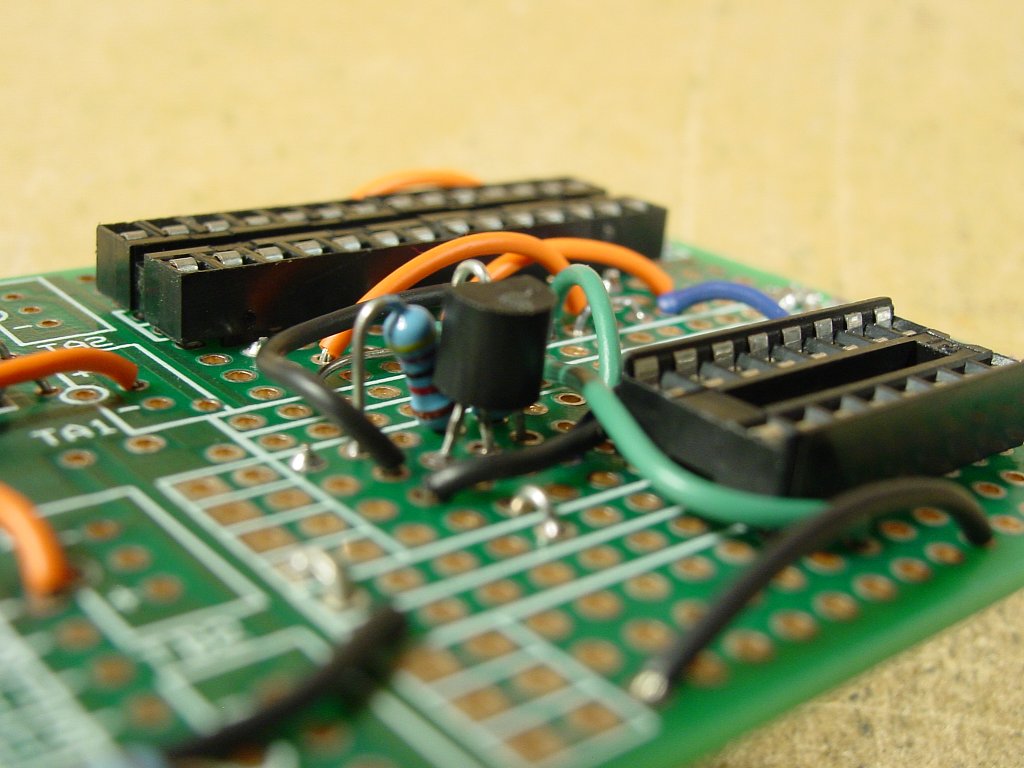
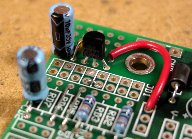
Board #2 Detail |
Board #2 Detail |
 |
 |
 |
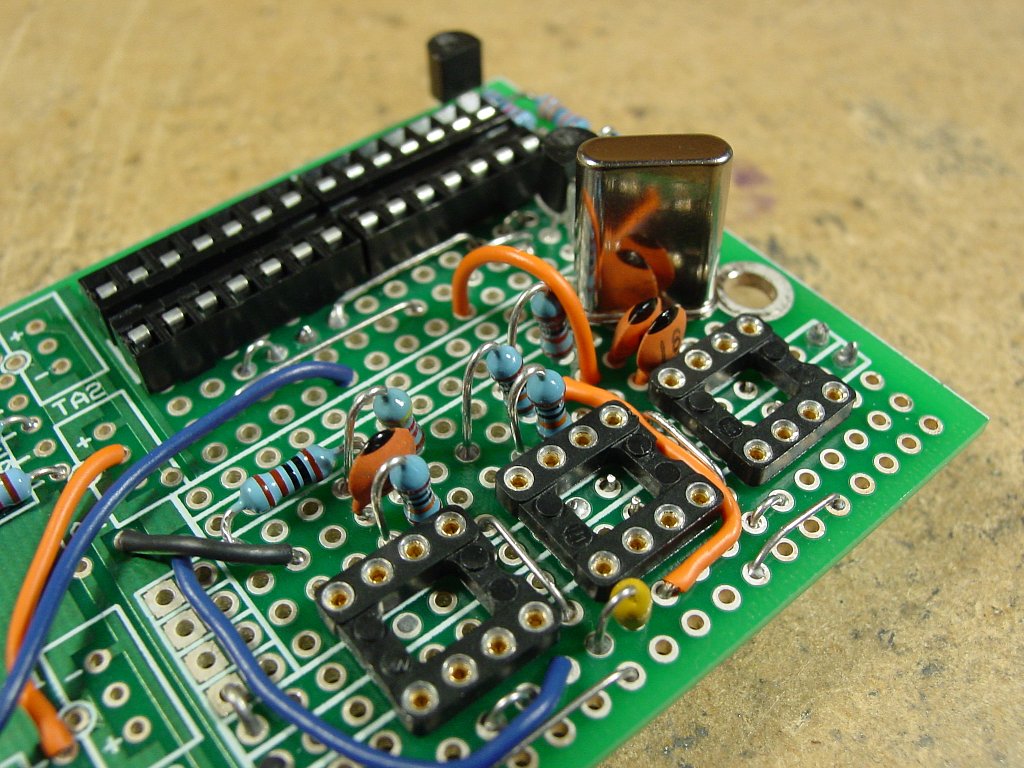
| Board #2 Detail |
Board #2 Detail |
Board #2 Detail |
 |
 |
 |
 |
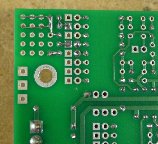
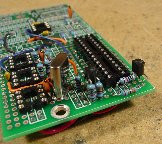
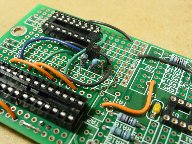
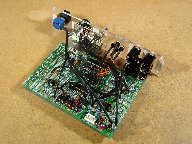
| Board #3 Complete (topside). C34-C35 are not shown. |
Board #3 Complete (underside) |
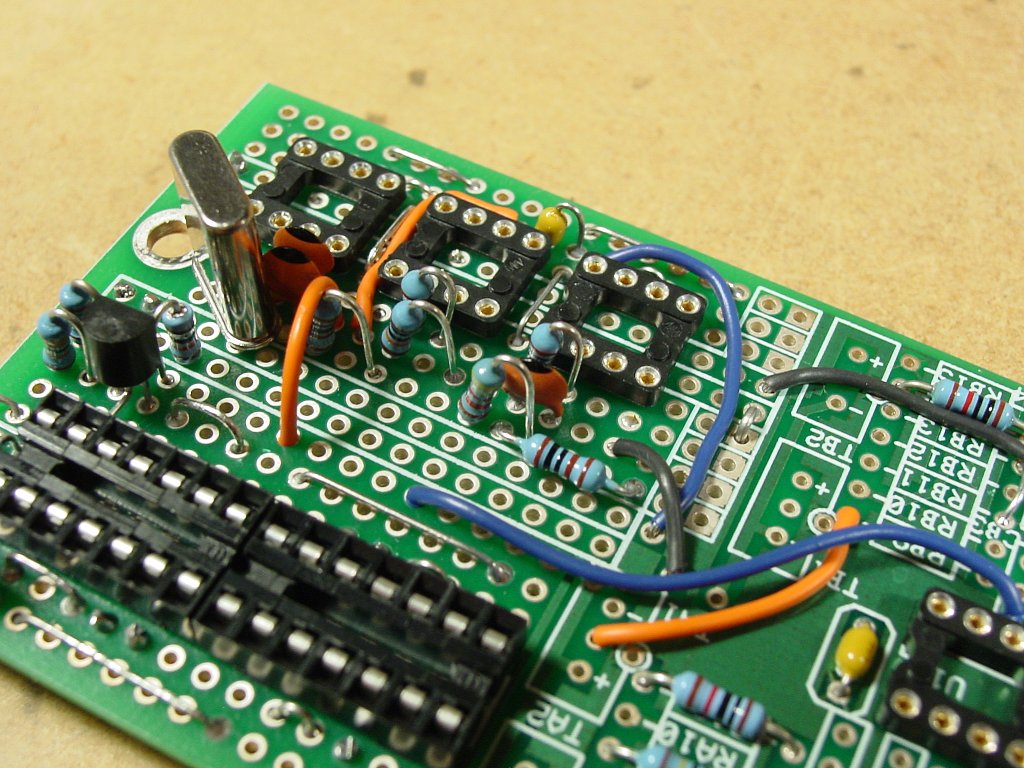
Board #3 Detail. C34-C35 are not shown. |
Board #3 Detail. C34-C35 are not shown. |
 |
 |
 |
 |
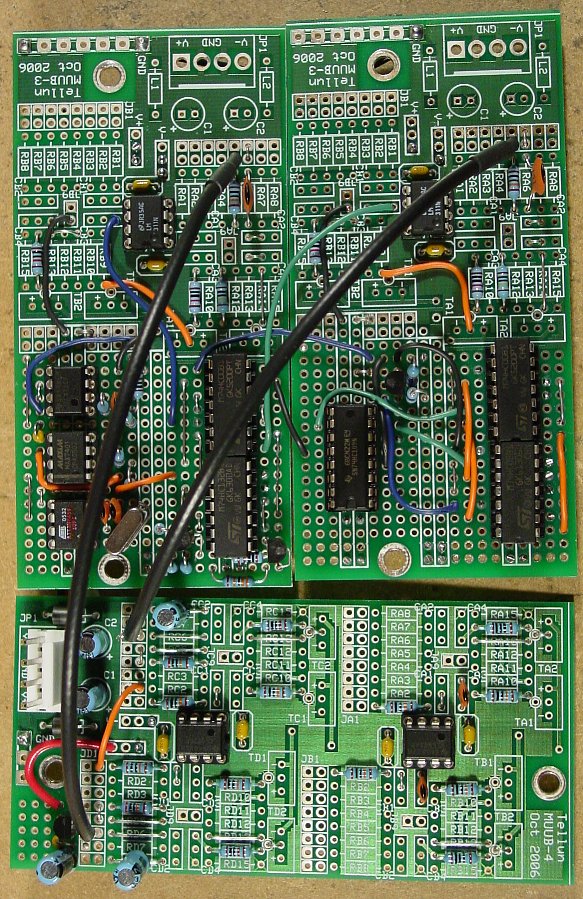
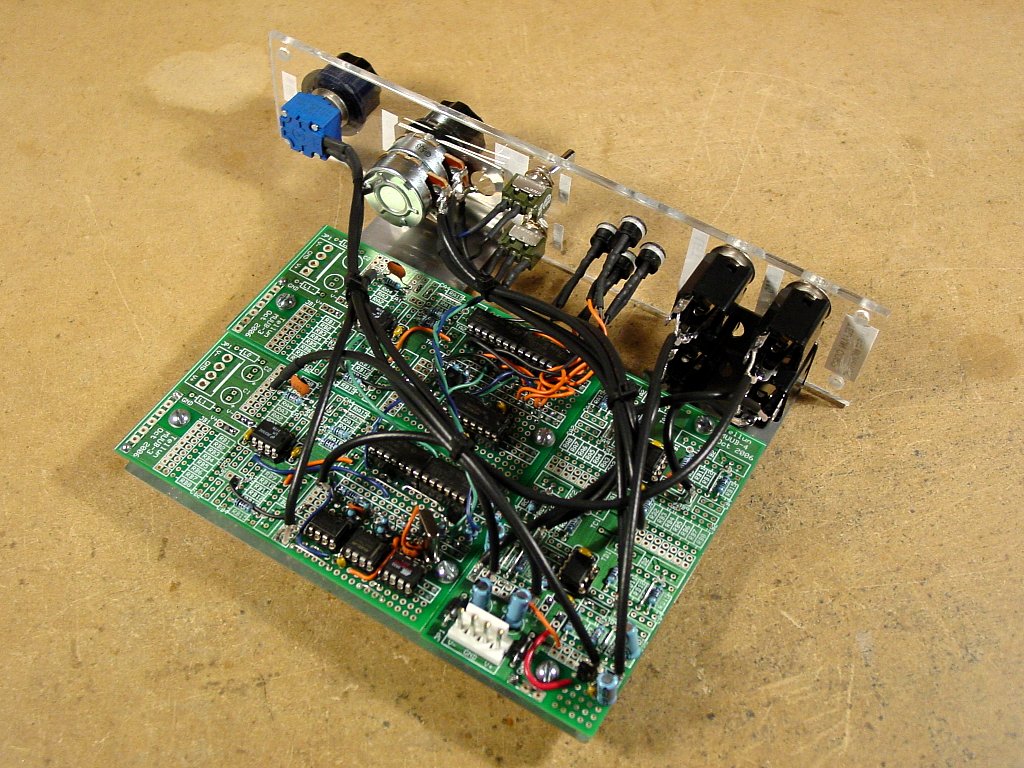
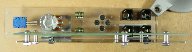
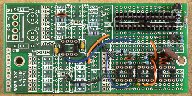
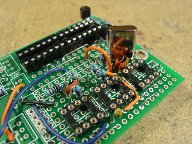
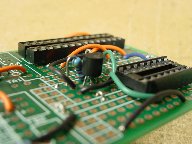
| Board to Board Wiring (topside) |
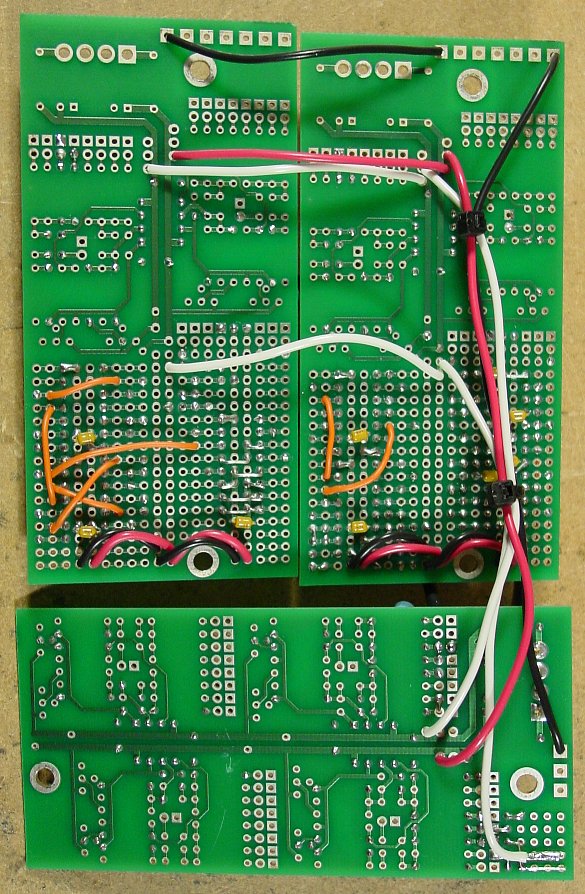
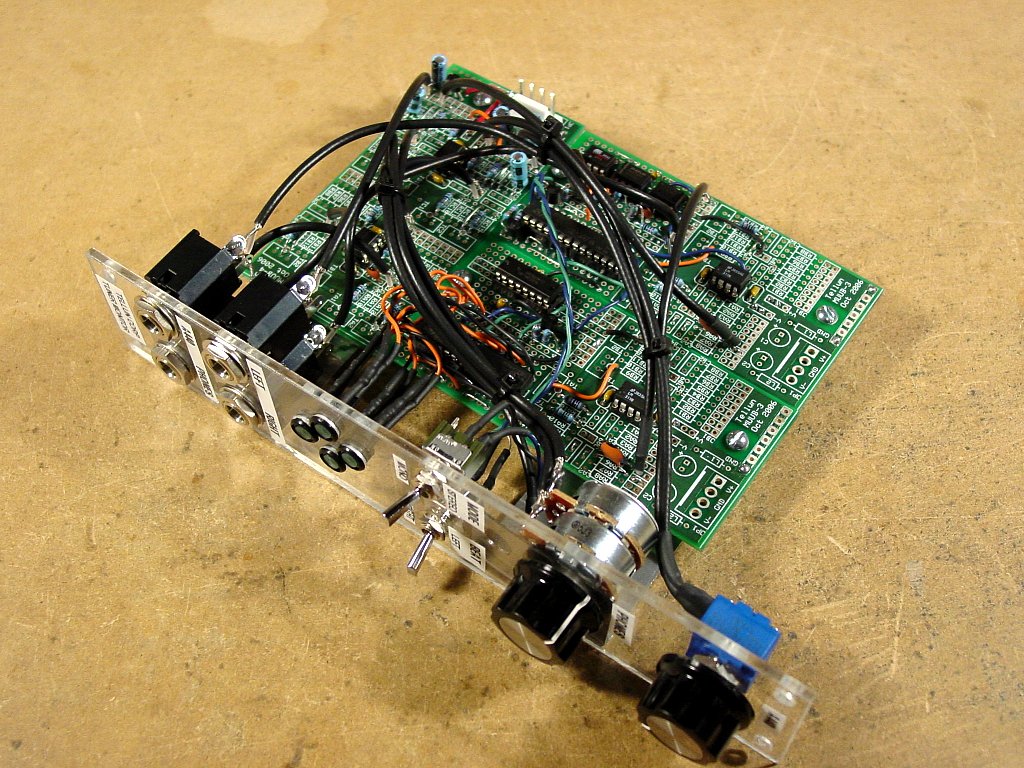
Board to Board Wiring (underside) |
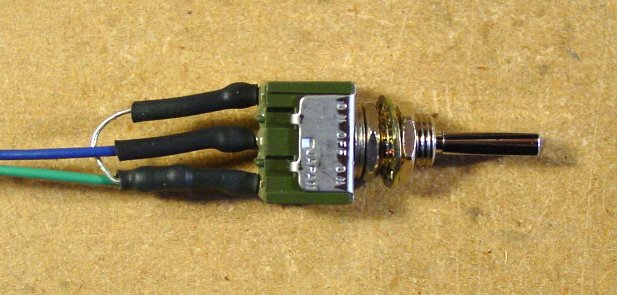
BEAT Switch Detail |
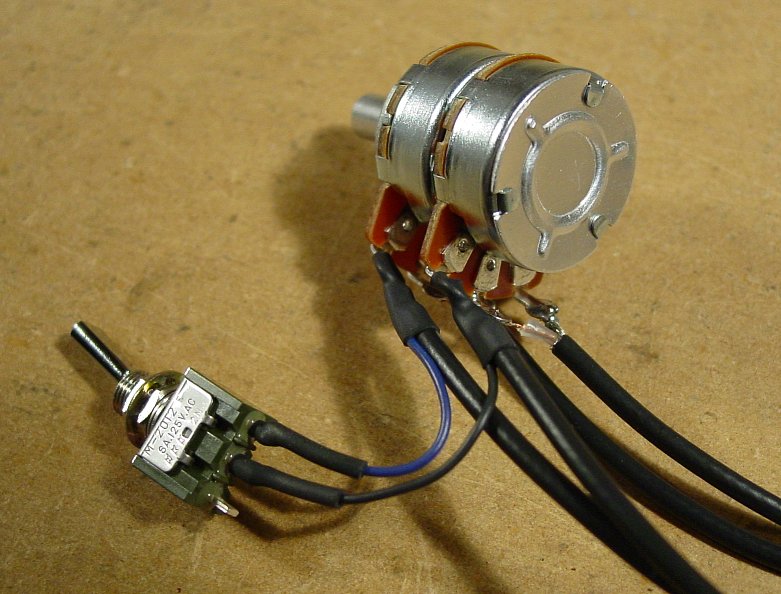
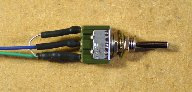
PHONES Pot and MODE Switch Detail |
 |
 |
 |
 |
| Finished |
Finished |
Finished |
Finished |